|
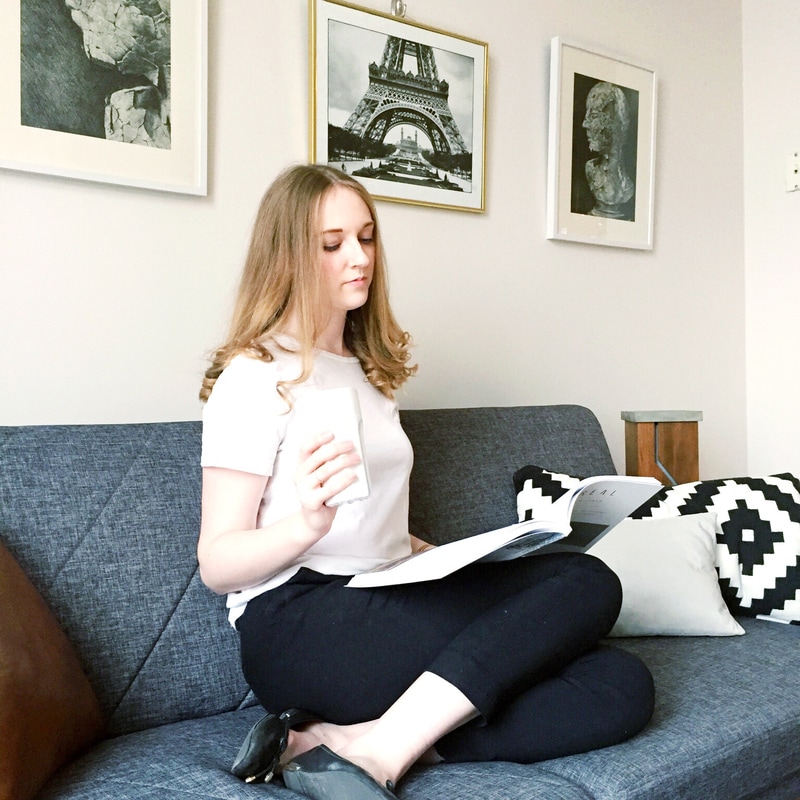
Welcome back! Thanks for joining me here again. Today is kind of a two-for-one post in that not only will I be showing you my office/den, there will be a free download of my calendar which I designed, AND a little fall DIY. I guess you could even call it a three-for-one. With all this going on let’s cut the chit chat, grab yourself a cup of tea and let’s get to it. The first day of Fall was officially this past week and if Fall isn’t the perfect time to get organized I don’t know when is. Back to school (whether you are in school or not) gets us all making schedules, planning the year, and hunkering down to work, myself included (Did I start a summer blog? No I did not). There is one place in my home that feels serious. Maybe it’s the degrees hanging overhead, or the file folder close at hand, but the office/den is the place to go to get stuff done. Everything I’ve implemented there you can too, I promise! 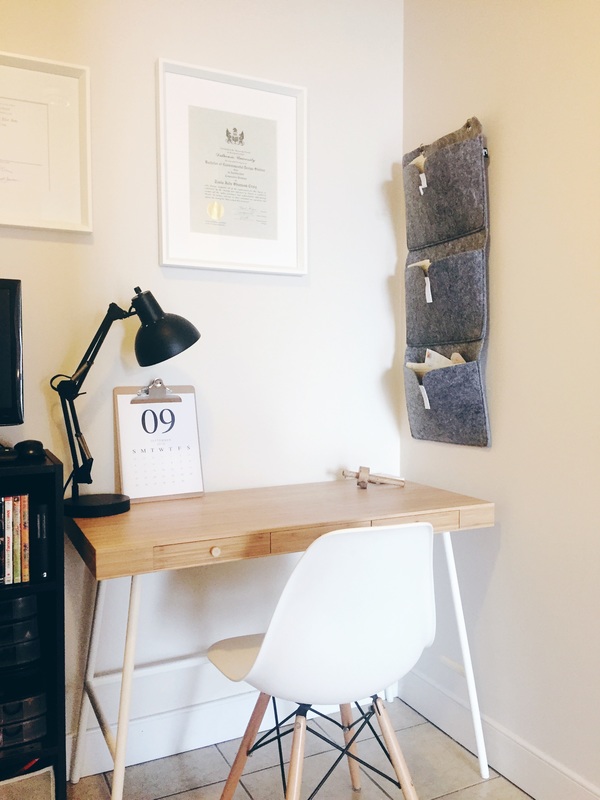 Simplistic and small (but not too small) my Ikea desk keeps me on task with everything at my fingertips. A desk without drawers is a waste of space in my opinion because all those pens and paperclips need to be kept somewhere, and let’s be honest, they need to be kept somewhere out of sight. I try really hard to limit myself to only the amount of office supplies that fits in a desk. I am a one man operation, I don’t employ hundreds, or even dozens of employees, so why on earth would I need more than one box of staples at any given time? If it doesn’t fit in the drawer, it doesn’t fit in my life. Repeat it with me: if it doesn’t fit in the drawer, it doesn’t fit in my life. Get rid of the excess and stop storing duplicates. It only serves to add visual chaos and visual peace leads to inner peace. 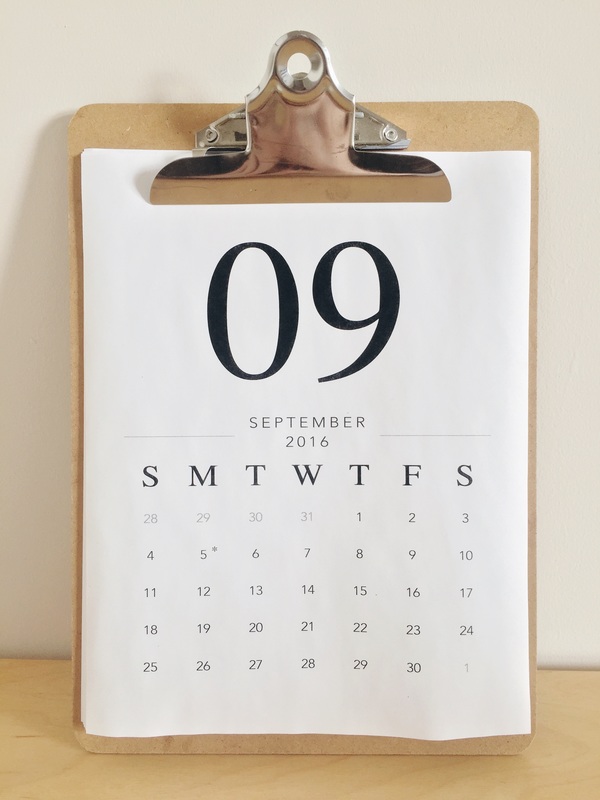 As I mentioned last week I love a good calendar or two, or seven. I have one in book format for all of my scheduling needs, I have one on the office desk to make dates and deadlines real to me and not just numbers that will probably eventually come, I even have a calendar in my bathroom cabinet with stickers in the back as a child-like (not childish, that’s totally different) reward system to keep track of how often I floss or other less frequent hygiene routines that can somehow go from being something you did last Tuesday to being something you did at some point in your life, you just can’t remember when. I keep a calendar for everything and I keep in the space I do that thing in. And man, when the first of every month rolls around and I get to flip all those calendars to reveal a new photo, it’s like christmas once a month! Organization can be fun, and it sure beats trying to remember everything. We can’t all be Sheldon Cooper. You can create my super easy DIY desk calendar by printing out my PDF especially made for you by clicking here, and getting yourself a cheap little clipboard from the dollar store. Clip the 12 sheets on the board and lean it or hang it anywhere. Voila! You could even paint the clip board any colour you want but I left mine as is (even easier). Simple and cheap, the only kind of DIY I’ll even look twice at. 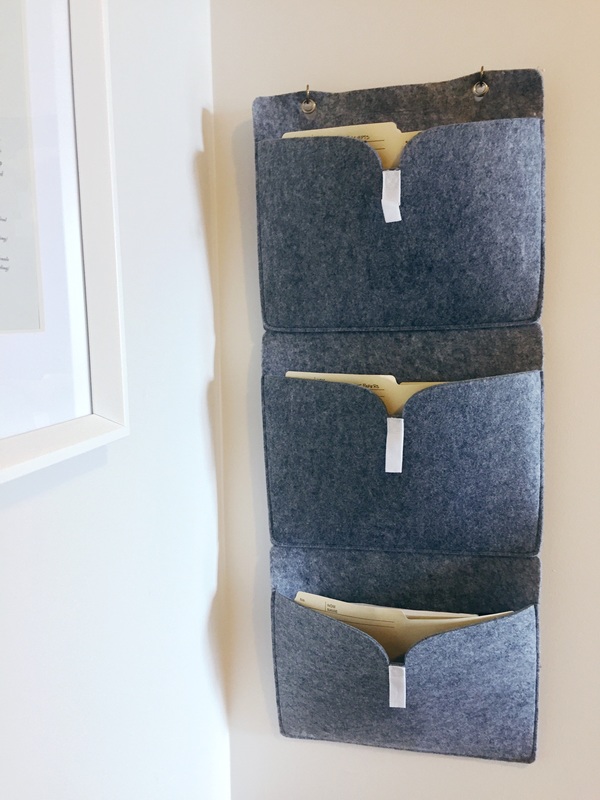 Now that takes me to my current-papers file-folder. Yes, I have a bankers box of long term file storage but we all know how those “need to be dealt with soon,” “just came in the mail,” and “may be useful may not be” papers pile up. This is the most aggravating kind of visual chaos to me because I tell myself it will be gone and dealt with soon but alas it is only replaced by more papers. Paper, paper everywhere.
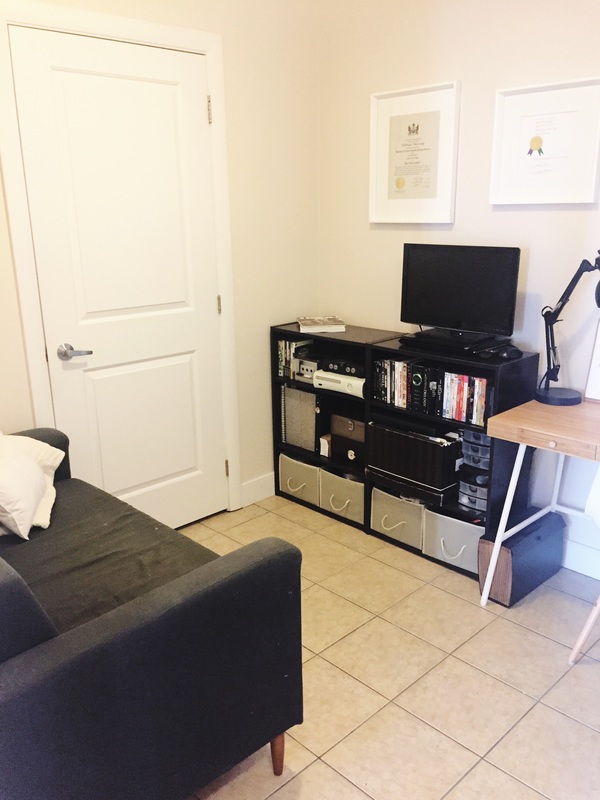 You know what they say about all work and no play. And there is no reason those two things can’t happen in the same room. Now if the sight of the TV is going to be distracting for you maybe some visual separation is necessary, but for me the TV is a second monitor so its close proximity is necessary. Also for more mindless work like photo editing and whatnot a TV show or movie on in the background is an excellent time keeper and form of entertainment. Fall is more than schedules and organization, it’s also about being so cosy, curling up with a tea or coffee, a movie or book, thick socks and a comfy seat. This is the cosy room. It houses the movies, CDs, and other electronic related things that are not a part of the everyday life. You’ll notice the shelf also has the previously mentioned bankers box of files and a few other office related things too. 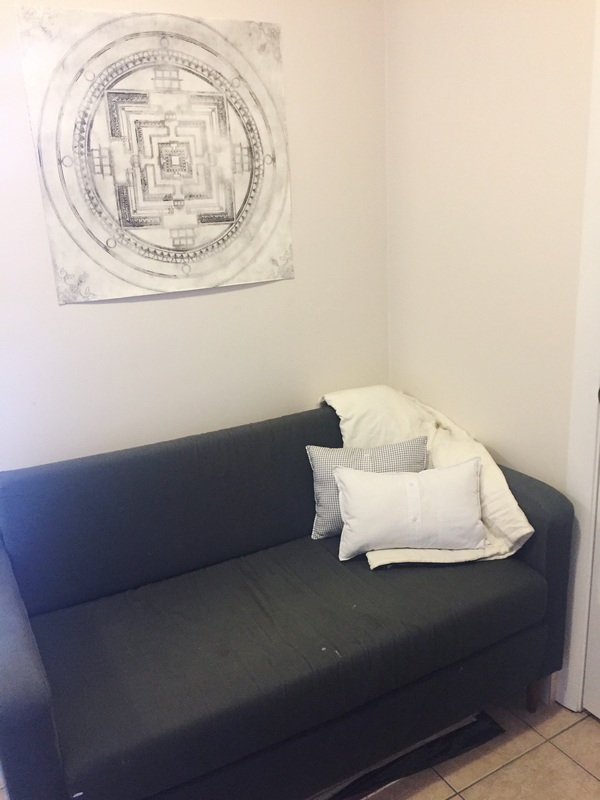 The tiny sofa leftover from my old apartment fits perfectly in this small space. It is also from Ikea but had it’s plastic legs swapped out for some taller wooden ones. This has made the couch more attractive, a more comfortable height, and also more practical because we can now store a very tall stack of oversized papers that need to lay flat (thank you architecture and art school). The piece hanging above the sofa was just one of those large flat things that got elected to be above the sofa instead of under it. It is a proof of a print Karl made that later became a stunning gold mandala that can be seen and purchased here. We hung this one because of its more architectural style and it’s monotone palette. 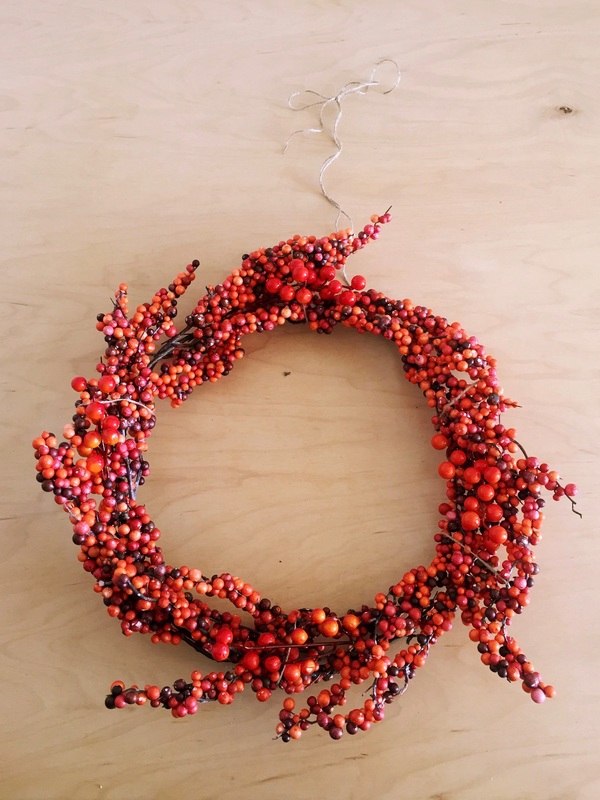 Now, a fall post would not be complete without a fall decor DIY. This is one of my favourite seasons and the decor can be so cosy and stunning. I try to keep all my decor understated and simple in nature. Next week I will post my thanksgiving specific DIYs but this wreath gets hung on the first day of the season. This DIY cost me less than $5 and took me less than 30 minutes. How can you possibly go wrong?! For the full DIY step by step just click here. Are you ready for the fall spirit? You can get right into it without a singe pumpkin spice latté, I promise.
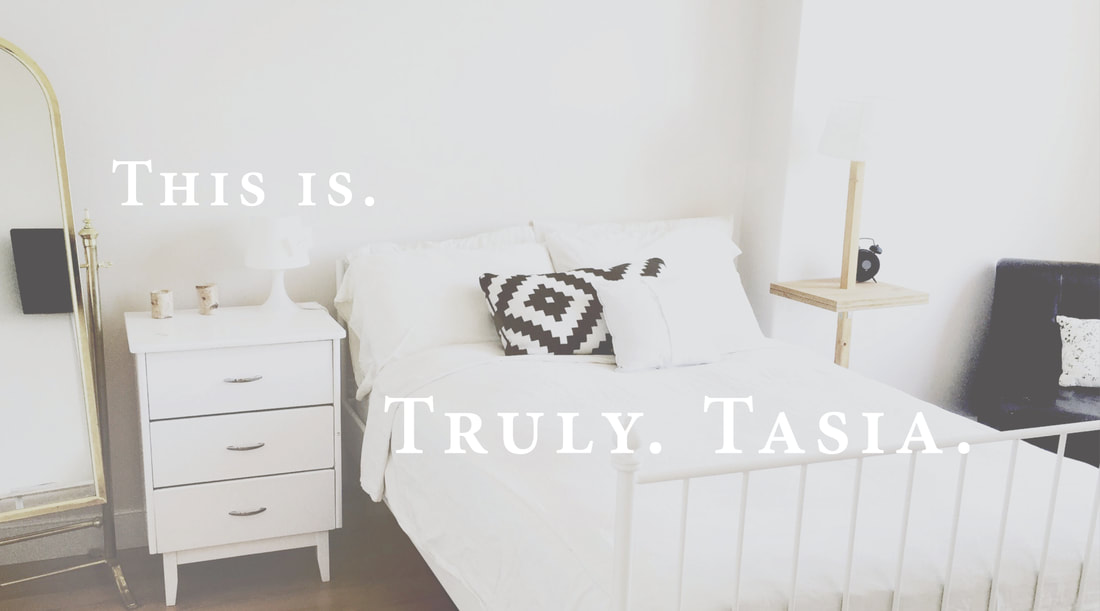
Welcome to Fall! Now get yourself organized and get cosy. The new season, new (academic) year, and new spirit is upon us. Looking forward to many more virtual tea parties with you. Truly. Tasia.
1 Comment
Are you ready to make the cheapest and simplest Fall wreath ever? Let’s get to it.  What you’ll need:
Yep, that’s all. Really. 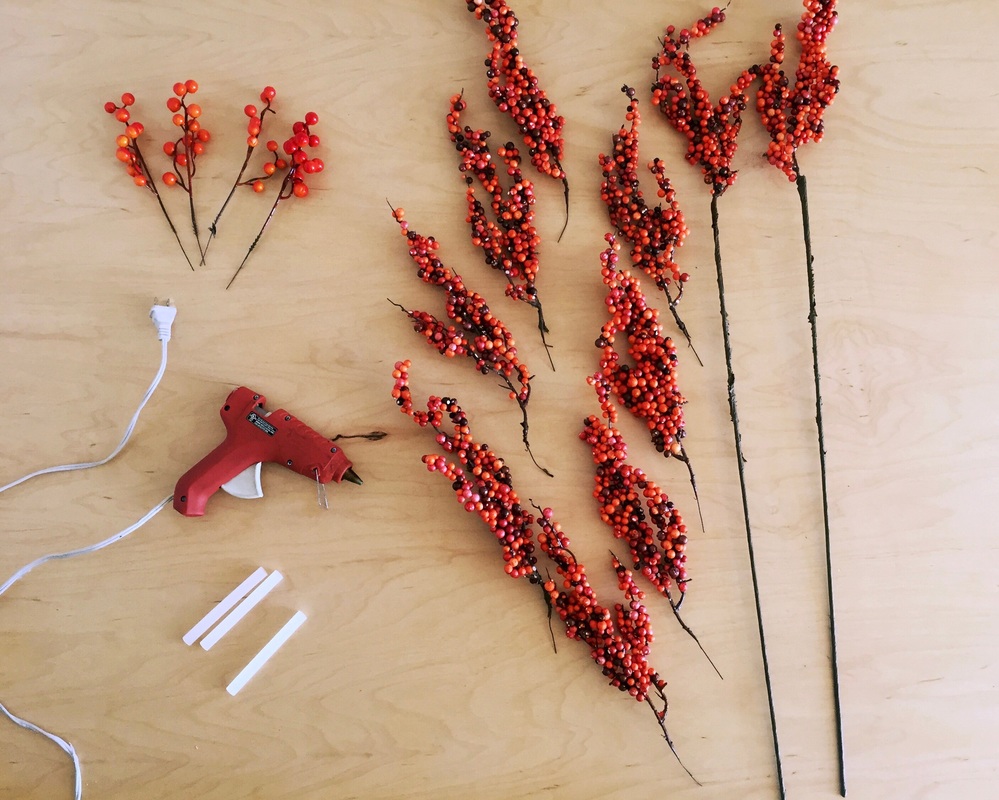 1. Start by plucking all the clusters off the main branch but leave one cluster attached. 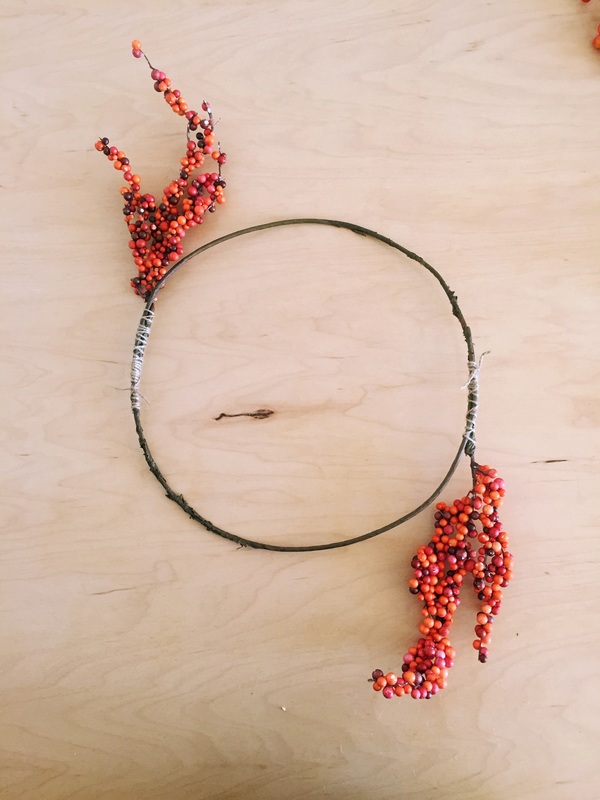 2. Curve the 2 stems into a half circle each and attach the end of one to the beginning of the other. I did this by simply wrapping the two together with twine. 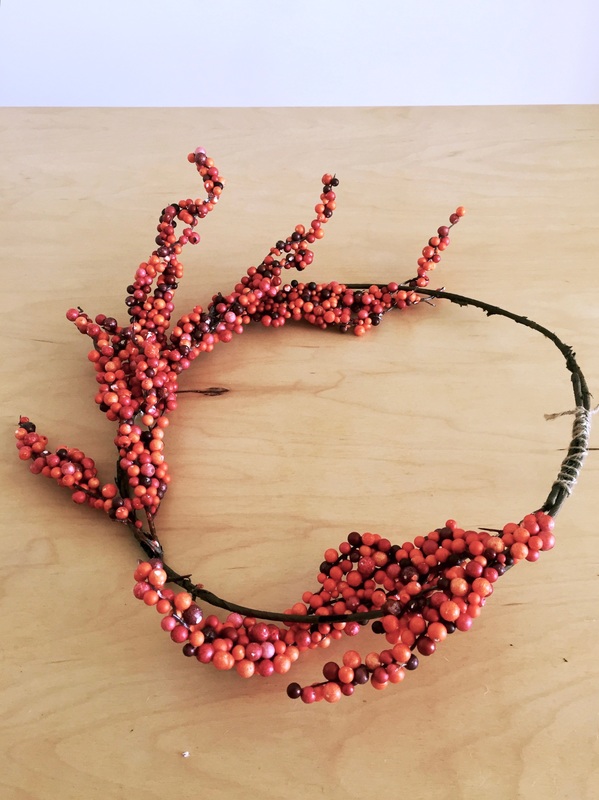 3. Start reattaching the clusters evenly distributed around the hoop. I again used twine here to wrap the ends to the hoop.  4. Bend and twist the clusters until there are where you want them and secure them. Once again I just used a single strand of twine tied loosely to keep things where I wanted them. For a fuller look use more clusters from other stems and for a sparser look only add clusters to half of the loop and leave the other half bare. Feel free to finish it off with a bow or simply another strand of twine for hanging like I did. And there you have it. In no more than 4 steps, for no more than $4 and in less than 400 words you too can have a luxurious home made fall wreath. Note: for a larger wreath use 3 or 4 stems to form the hoop. My two stems ended up making a wreath about a foot an a half high and wide, the actual loop itself being about a foot in diameter. Tips:
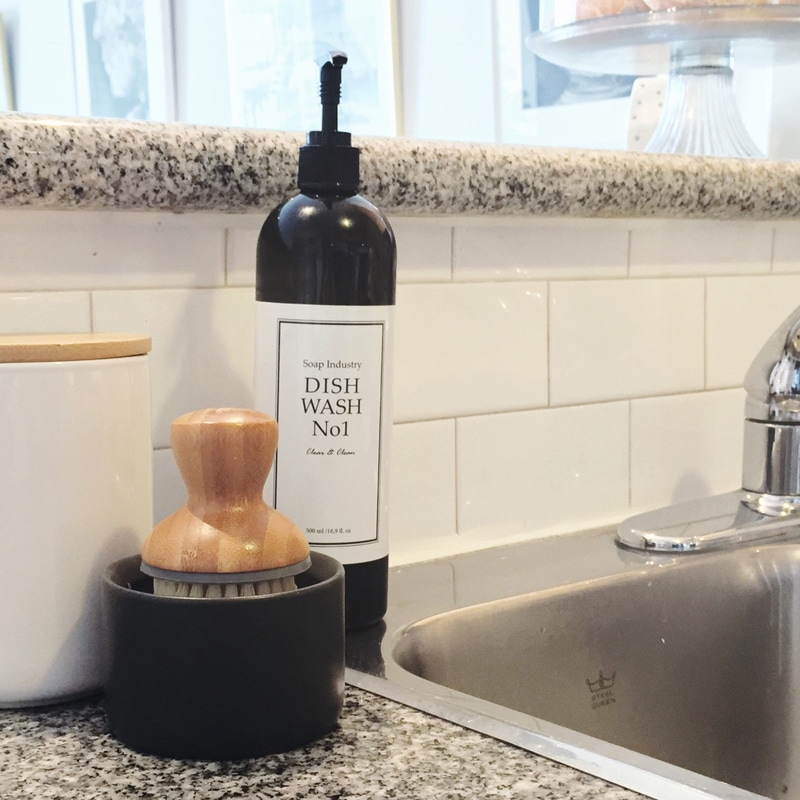
Don’t you want to be welcomed home by a token of fall, eliciting all sorts of cosiness? This DIY is for you. It really is a DIY anyone can do. Truly. Tasia. 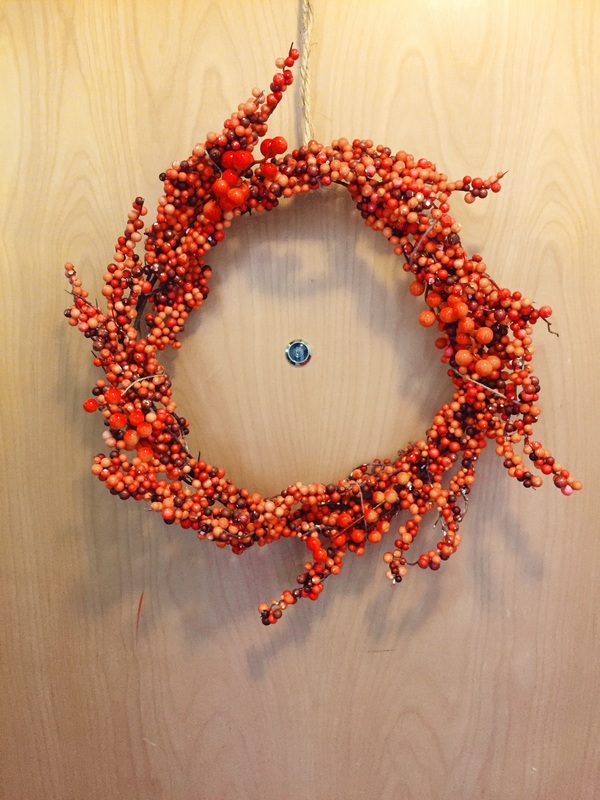 Welcome to my first ever blog post!!! I can’t wait to share my design style and DIYs with you here. I have been a maker and a do-er for as long as I can remember, since my very frugal mother taught me you don’t have to pay for it, you can do it yourself. Since those humble beginnings I have grown up, moved across the country, studied environmental design (that is: the design of human environments, aka human habitats, aka cities and buildings, not the environment and ozone layers and other things I honestly know very little of). And now after earning a Bachelors degree I am out in the world, making and doing, and reverting back to my humble beginnings. Here on my website I will be writing a weekly blog post chronicling my design life: my décor, my DIYs, my organizational tips, my cooking, baking, and general concocting adventures, and much more. Design isn’t just the furniture, it’s how the cupboards are organized, it’s how close to my favourite chair my favourite objects are, it’s simple recipes and simply joys, the beauty and serenity is in the details. “God is in the details” - Mies van der Rohe. I have just moved into my first big girl apartment (complete with fancy lobby, underground parking, and updated interiors). It is the perfect canvas for all my creative juices to paint. Over the coming weeks I will be taking you room by room through my home and sharing a few of my tips and tricks. For now I will leave you with the details, teasers of rooms to be shared at length later. Vignettes add a personal touch and turn a house into a home. Here are some things personal to me. This is my home.  The love of my life is a talented and handsome man named Karl Gruenewald. He makes incredible art that can be seen and purchased here. 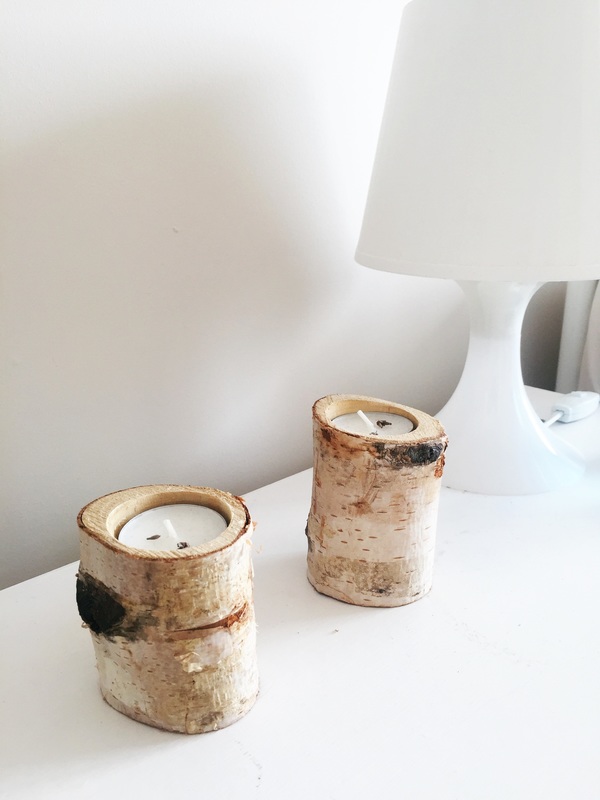 These birch wood candle holders were made by Karl and I at "Kulturnat" while we were living in Denmark. (More to come about all of that later ;) ) 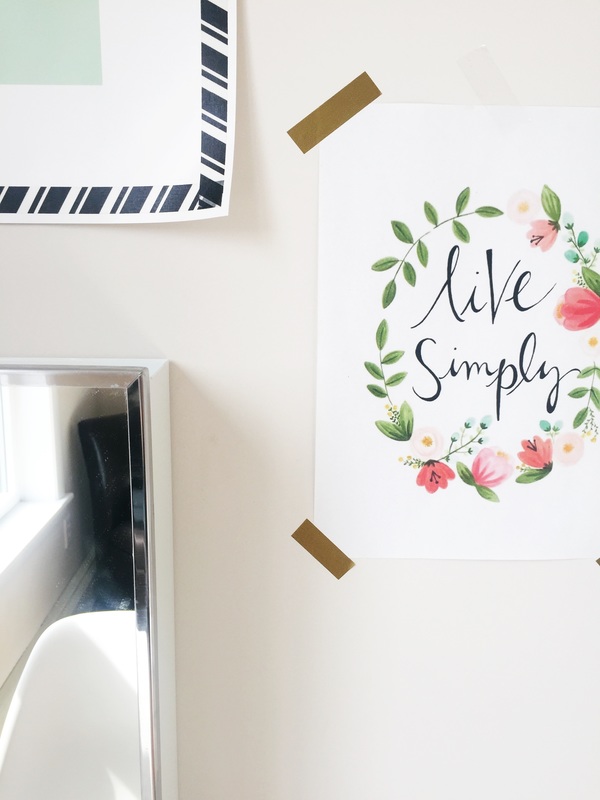 This is where I get ready every morning. My talented writer, maker, doer friend Amy Grace taught me to surround myself with affirmations wherever there is a mirror. 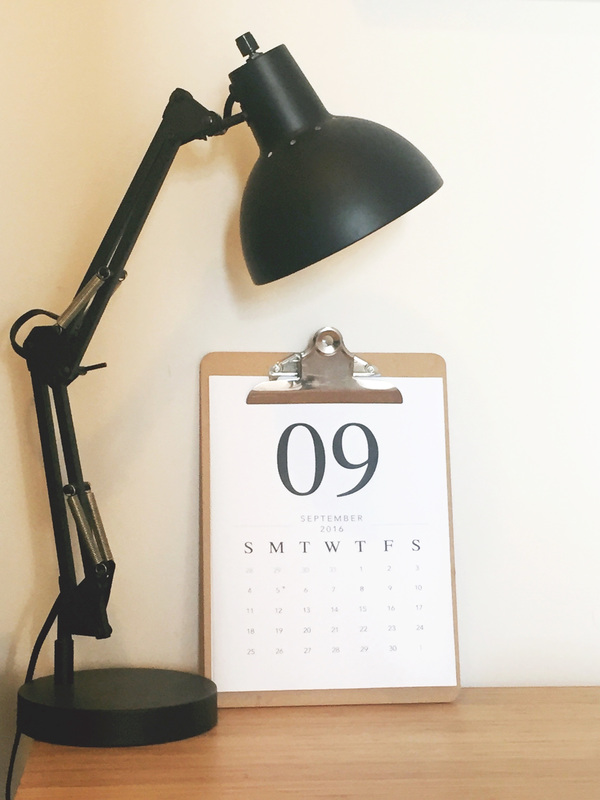 This is where the work gets done. I keep myself organized and on track with more than one calendar. This one I designed and will be posting more about next week. 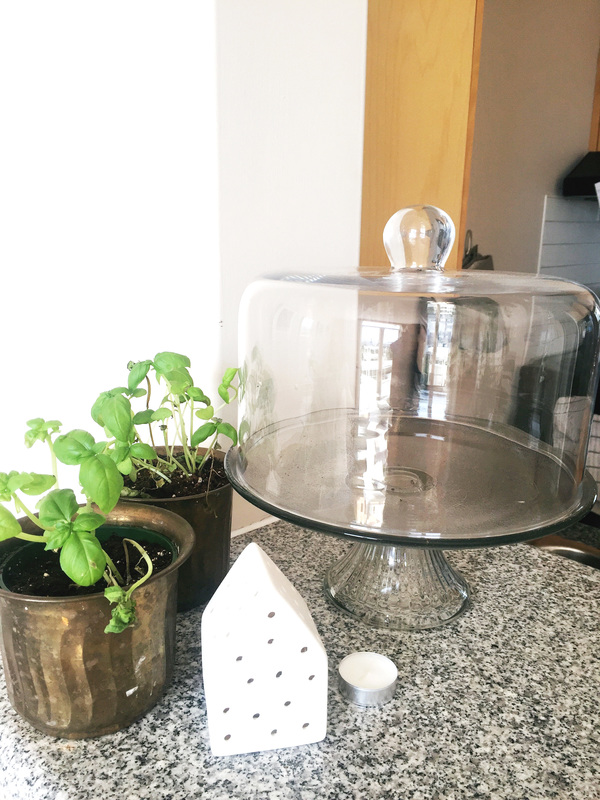 Kitchens are for fresh herbs and cake stands. This is a rare moment when the cake stand is clean and empty, I store everything in here (even bread and veggies, because magically things stay fresh in the safe little dome. 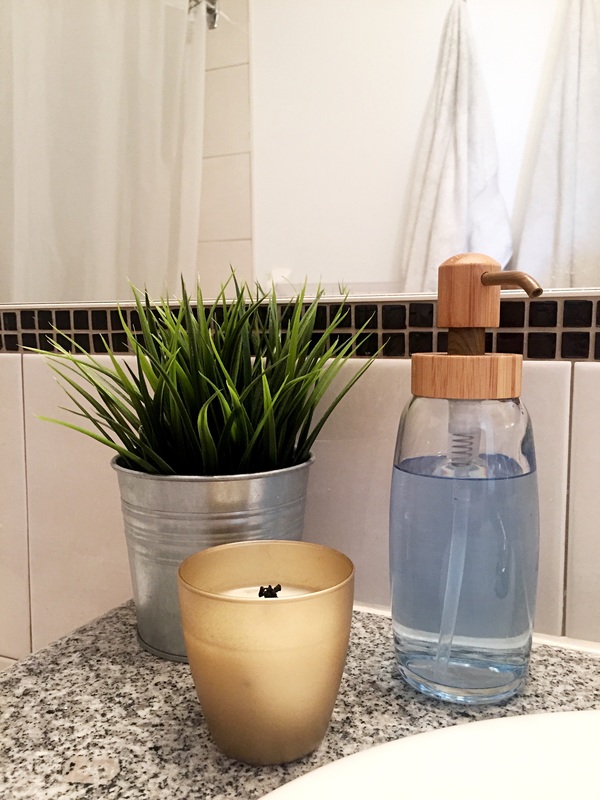 If you haven't noticed by now, plants are my accent colour. Cosy and white is my preferred palette, but in a bathroom white is definitely the most fresh and calm way to go (with little accents to warm it up). Thank you so much for joining me on my first ever blog post. Now I can't say I've never done that. I can't wait to share this journey with you week after week. It really has been a real treat. Please keep coming back and tell your friends. The more the merrier.
Y'all are great. Truly. Tasia. |
Find me here too
AuthorTasia Craig recently graduated from Dalhousie's School of Architecture with a Bachelor of Environmental Design Studies and now hopes to showcase her design work on her very first blog. She is currently living in Halifax, Nova Scotia. 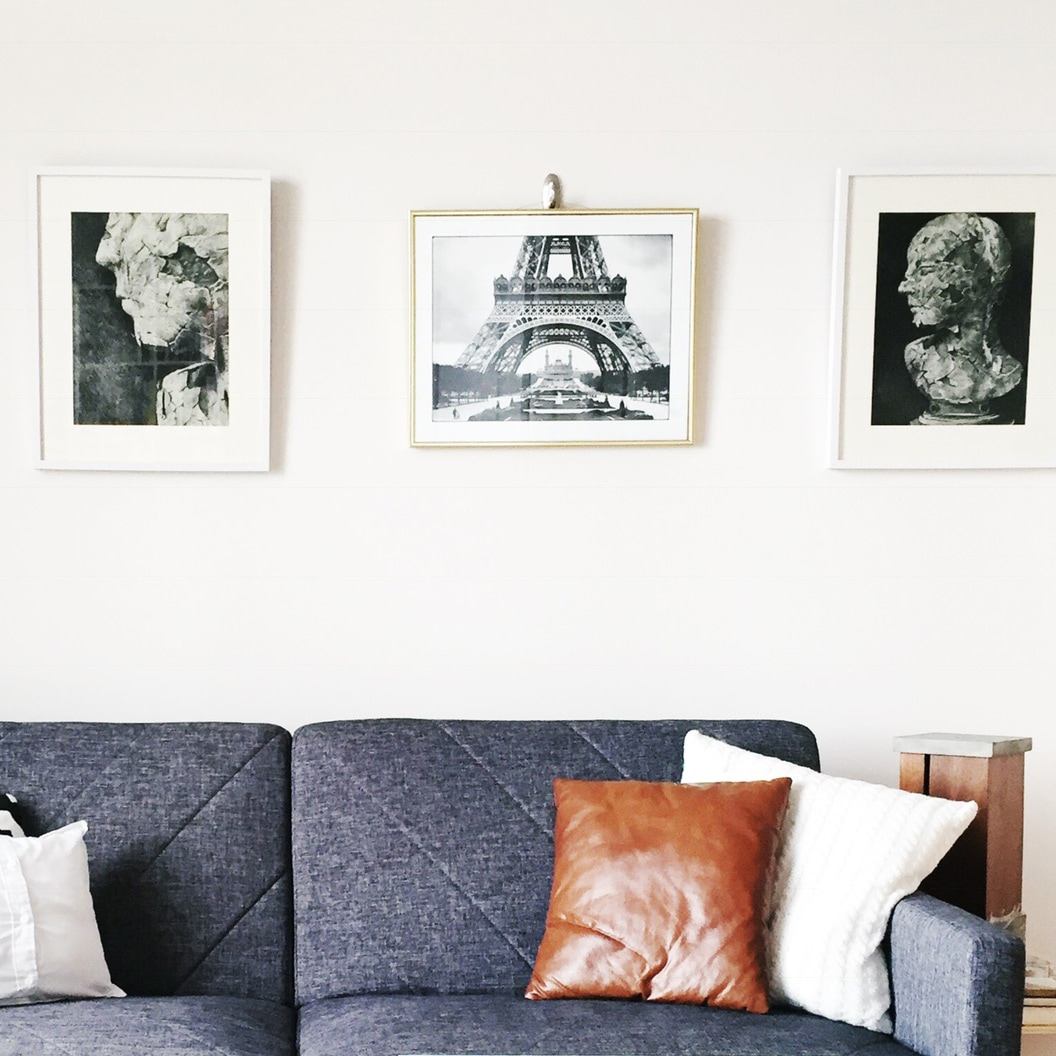
Come On In
Bistro à la Chez Tasia
Why I Started This Blog
Archives
June 2017
|
